
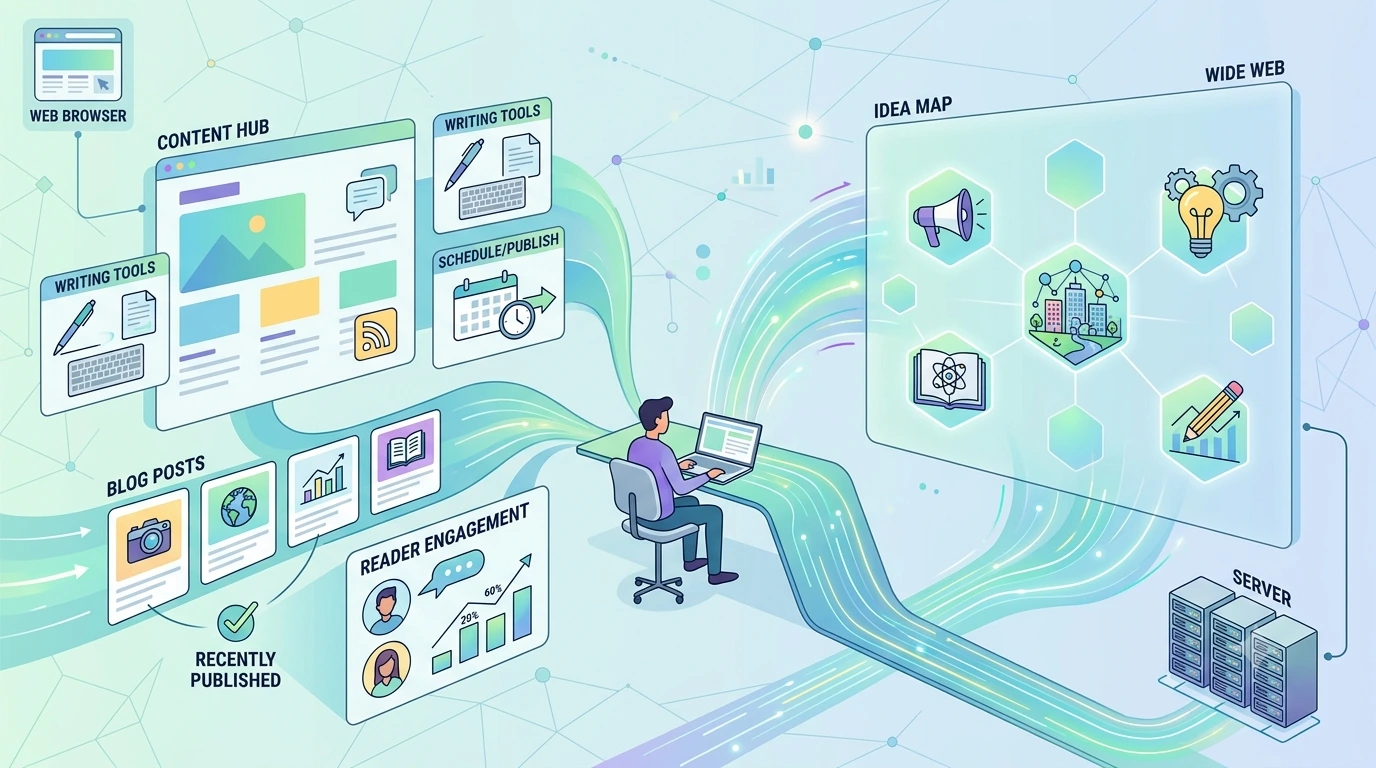
If you publish alone, the tools you pick determine how often you can ship. A well-chosen, connected toolset turns scattered tasks—research, drafting, editing, formatting, publishing, promotion—into a predictable routine. This article walks through six core components every solo creator needs, how to prioritize integrations, and three practical stacks you can adopt based on budget and technical comfort.
The six tools every one‑person publishing stack should include
Think of your stack as six functional pillars. You don’t need every bell and whistle, but each pillar must be covered so work flows without friction.
1. Idea & research capture
A fast way to capture notes, links, and rough outlines prevents ideas from evaporating. Choose a tool that’s quick to open on mobile and desktop, and that supports tags or folders so you can later find research by topic.
2. Writing and versioned drafts
Your writing environment should make drafting painless and preserve history (versioning or automatic saves). Prioritize support for offline editing and a reliable export path (Markdown, HTML, DOCX) so content can move downstream.
3. Asset management and media processing
Images, audio, video, and files need a place that’s organized and accessible from your editor and publishing platform. For images, make sure you can crop, compress, and keep a clear naming convention so the same asset isn’t duplicated across posts.
4. Publishing platform
This is where your content becomes public: blog CMS, newsletter service, podcast host, or social platform. Evaluate publishing controls (scheduled posts, SEO fields), templates, and how easy it is to export your site or content if you change platforms later.
5. Distribution and automation
Tools that push or schedule content to social, newsletters, and feeds shrink the gap between publish and reach. You’ll use these to automate repetitive steps: tweet threads, newsletter digests, or posting an excerpt to LinkedIn.
6. Analytics and feedback loop
Simple analytics close the loop: what topics perform, where traffic comes from, and which posts create subscribers. Pick a lightweight analytics tool that doesn’t require complex setup but gives you the metrics you’ll actually act on.
How to choose tools: priorities and trade-offs
When selecting tools, weigh three practical dimensions: cost, time saved, and risk (vendor lock-in, data access). Match choices to your goals and bandwidth.
Prioritize friction reduction first
A tool that shaves minutes off each task compounds into hours saved. Start with the parts of your process that currently feel slowest—usually capture and publishing. If capturing ideas is painful you’ll have fewer publishable starts; if publishing is clunky you’ll stall at the finish line.
Prefer exportable formats and clear ownership
Choose tools that let you export your content and media without onerous steps. Exportability lowers risk: if a platform changes pricing or disappears, you can rebuild elsewhere.
Balance integrations with simplicity
Lots of integrations sound powerful but increase upkeep. Aim for tools that either integrate natively or connect via one dependable automation layer (more on that below). Prefer a small set of reliable connections over many brittle ones.
Which integrations to build first
Not all connections are equally valuable. Prioritize integrations that remove repeated manual steps and guard against failure points.
- Draft -> Publish: Automating the path from your writer to the publishing platform prevents copy/paste errors and speeds delivery. Example: export Markdown from your editor into your CMS or generate a CMS draft via an API.
- Media storage -> Publishing: Ensure your images and media are accessible to the CMS so you don’t have to re-upload files each time.
- Publish -> Distribution: Automate social and newsletter posts on publish, not before. This ensures your channels reflect the final version.
- Publish -> Analytics: Pushing a publication event to your analytics or tracking system lets you measure from day one.
Those four connections cover most avoidable friction. Add deeper automations (like A/B headline testing or automatic excerpt generation) after these are reliable.
Three practical stacks: low-cost no-code, mid-tier SaaS, and technical DIY
Below are sample stacks focused on the same six pillars. Each stack lists realistic tools by function and explains why it works for a particular creator profile.
1) Budget, no-code (fast to set up, minimal technical work)
Best for creators who want to publish consistently without learning code or managing servers.
- Idea & research: Notion or Google Keep — quick capture and searchable notes.
- Writing: Google Docs or a Markdown editor like Obsidian (export via copy/export).
- Assets: Google Drive or Dropbox for simple organization and sharing.
- Publishing: Substack, Ghost (hosted), or a site builder with blogging features.
- Distribution: Buffer or native Substack scheduling for newsletters and social posts.
- Analytics: Built-in platform analytics plus a privacy-friendly tracker if needed.
Why it works: Low cost and minimal setup. Trade-off is less control and limited automation complexity.
2) Mid-tier SaaS (balanced control, moderate cost)
Good for creators who want automation and cleaner exports without running infrastructure.
- Idea & research: Notion or Roam with templates for research notes.
- Writing: Markdown-first editor (e.g., Typora, Obsidian with a publish plugin) that exports clean files.
- Assets: Cloudinary or a well-structured S3 bucket via a managed interface.
- Publishing: Headless CMS (e.g., Ghost self-hosted or headless CMS SaaS) or static site generator connected to a host.
- Distribution & automation: Zapier or Make (Integromat) to connect publish events to Twitter/X, LinkedIn, and newsletter services.
- Analytics: Google Analytics or Plausible plus event-based instrumentation through automation tools.
Why it works: Offers automation and tidy exports without deep technical ops. Trade-offs are subscription costs and some configuration time.
3) Technical DIY (maximum control and scalability)
For creators who can maintain some infrastructure and want full automation control.
- Idea & research: Local Markdown notebooks (Obsidian) synced with Git or a Git-backed note system.
- Writing: Static site generator workflow (Hugo, Eleventy) or a custom editor that commits to a Git repo.
- Assets: S3 + CloudFront or self-hosted image server with automated optimization.
- Publishing: Static site deployed via CI/CD (Netlify/Vercel or your own runner).
- Distribution & automation: Custom scripts, GitHub Actions, or a low-level automation platform to push social, send newsletter digests, and run tests.
- Analytics: Server-side analytics or self-hosted tools for full data control.
Why it works: Greatest flexibility and exportability. Trade-offs are more time spent on maintenance and a higher initial setup cost.
Operational practices that make a stack repeatable
Tools matter less than the behaviors that surround them. These practices reduce cognitive friction and keep output consistent.
- Templates for every repeatable asset: Idea briefs, article outlines, image naming templates, and distribution copy templates save time and standardize quality.
- One canonical source of truth: Keep your live drafts and assets in a single primary location, then publish from there. Avoid keeping different versions across multiple apps.
- Automate safe steps first: Start by automating non-creative tasks—file uploads, resizing images, and scheduling posts—so you don’t risk automating the wrong version of creative content.
- Monitor key signals weekly: Check a small set of metrics (traffic, subscribers, top-performing posts) to guide what you create next.
- Export and backup monthly: Export your content and media regularly and store a copy in another service you control.
Quick migration checklist: moving to a new stack without losing work
If you switch tools, follow this checklist to avoid surprises:
- Export all drafts and published content in an open format (Markdown, HTML, or DOCX).
- Export media with clear filenames; map old filenames to new locations.
- Rebuild templates and automation flows in the new system using a staging area first.
- Validate links, images, and metadata (SEO fields, publish dates) before switching DNS or making the new site public.
- Keep the old system live for a short overlap period so you can roll back if needed.
Next steps you can take this week
Pick one small goal and complete it end-to-end to prove your stack works:
- Goal 1 (30–60 minutes): Create a single post using your full stack—capture to publish to distribution—so you learn every handoff.
- Goal 2 (2–4 hours): Automate one repetitive step (e.g., auto-post published headlines to Twitter/X or schedule a newsletter issue) and monitor for errors for a week.
- Goal 3 (monthly): Export a backup of your content and assets and store it off-platform.
Pair this planning with a simple editorial cadence. If you haven’t already, a short, documented workflow—like a one-page playbook for how an idea becomes a publishable draft—will make the stack reliable. For a practical template on repeatable workflows you can adapt, see the Wide Web Blog post on a repeatable 5-step workflow for solo creators.
Small, reliable automations beat complex brittle systems. Build repeatability first; add sophistication afterward.
Frequently Asked Questions
What are the six essential tools for a one-person publishing stack?
At minimum you need: 1) idea & research capture, 2) a writing and draft environment with versioning, 3) asset/media management, 4) a publishing platform, 5) distribution/automation tools, and 6) analytics. Covering each pillar prevents gaps that slow publishing.
Which integrations should I automate first?
Automate the high-friction, repeatable handoffs: Draft -> Publish, Media storage -> Publishing, Publish -> Distribution, and Publish -> Analytics. These remove the most manual work and reduce errors.
How do I choose between no-code and technical stacks?
Choose no-code if you want speed and minimal maintenance. Choose a technical stack if you need exportability, performance, or custom automations and are comfortable managing infrastructure. The mid-tier SaaS option is a good compromise for many creators.
How should I back up my content and assets?
Export content in open formats (Markdown, HTML, DOCX) monthly, download media with clear filenames, and store copies in a separate cloud provider or local archive. Automate the export if your platform supports it.
Can I scale this stack later without rebuilding everything?
Yes—if you prioritize exportable formats, use standard media storage, and keep automation logic modular. That lets you swap components gradually instead of rebuilding from scratch.